This guide shows you how to connect your computer to a Kyocera printer via USB.
To operate your printer from your computer, you will first need to install the correct printer driver.
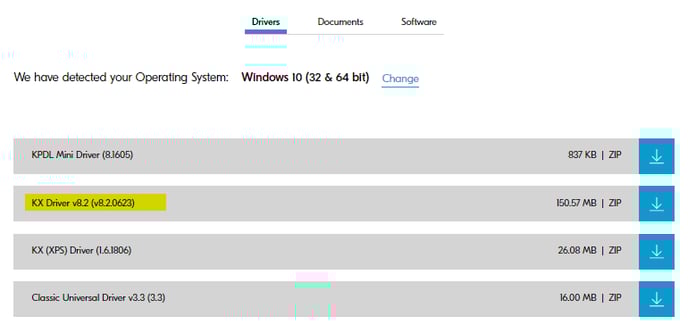
If you haven’t installed your driver already, visit the Kyocera website Support Download Centre.
Enter your Kyocera model name and choose the correct model as it appears in the drop-down list.

Under Drivers, select your printer model from the list and click on Install to run the installation.
1. See the below diagram to connect your printer to your PC or Mac OS computer via USB Cable:

2. Connect the power cable to the printer and then turn the power switch on:

Once the printer is turned on, the computer will detect the printer and install the machine.
A notification will pop up to indicate that the printer is installed in the taskbar of the computer.
Further assistance
If you require further assistance, please feel free to contact us directly via:
- Chat: the chat in the bottom right corner of our website. ↘️
- Phone: to speak to a member of the Kyocera support team, call our helpline on:
- Australia: 135 962 and choose option 3
- New Zealand: 0800 459 623
Phone Support hours are Monday to Friday 9am to 5pm local time across Australia and New Zealand (excl public holidays).
Chat Support hours are 9am to 5pm AEST/AEDT.