Learn how to configure your printer to scan to SMB, meaning that scanned documents are saved directly to your PC.
Scanning your documents directly to a folder on a PC via the Server Message Block (SMB) protocol requires that your multifunction device (MFD) or multifunction printer (MFP) is configured to authenticate to your Windows PC.
This process will allow you to save scanned documents directly to a specified folder on your PC.
Additionally, your printer also needs to be connected to the network with a static IP Address. The IP address is needed to access the Command Centre for the MFD/Printer.
Finding your IP address
There are two ways to identify your IP address:
1) by printing a status page or
2) on the machine. Printers connected via Wireless/Wi-Fi will have to use the On The Machine method to obtain the IP address.
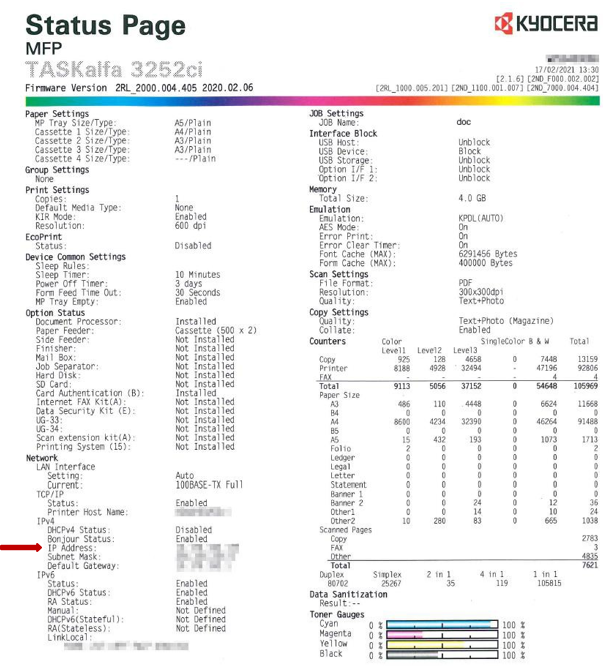
Printing a status page
Printing a status page is one of the fastest ways to find the IP address of the printer. The IP address can be found under the Network section.
On the machine method
For machines with a touch screen panel, the IP address can be found under System Menu > Report > Print Report > Status Page.
For machines without a touch screen panel, the IP Address can be found under Menu > Report > Report Print > Status Page.
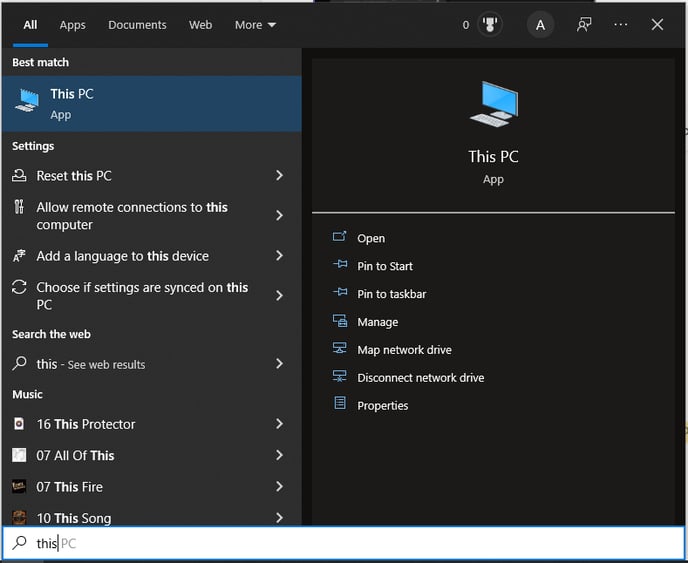
Finding the host name of your PC
The host name is what your computer is called on the network. It’s also sometimes called Computer name. To find out your computer name, locate This PC and click on Properties.
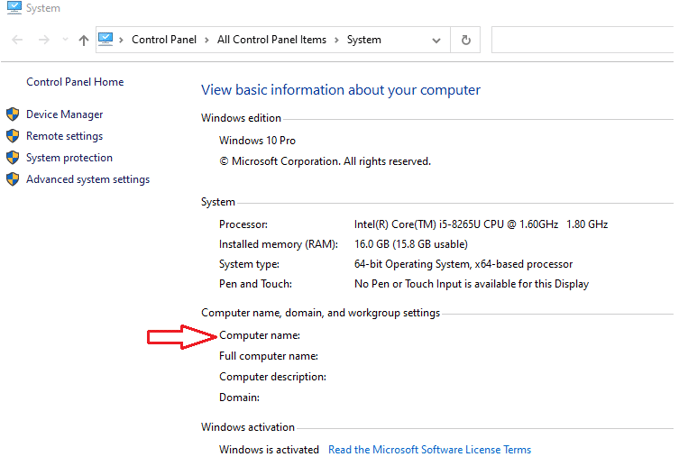
Your computer name will be displayed as below:
Creating a folder on your PC
You can create a designated folder to store all your scans.
To create a new folder, right-click your mouse on your desktop or wherever in your document library you may wish to store your scans and choose New > Folder.
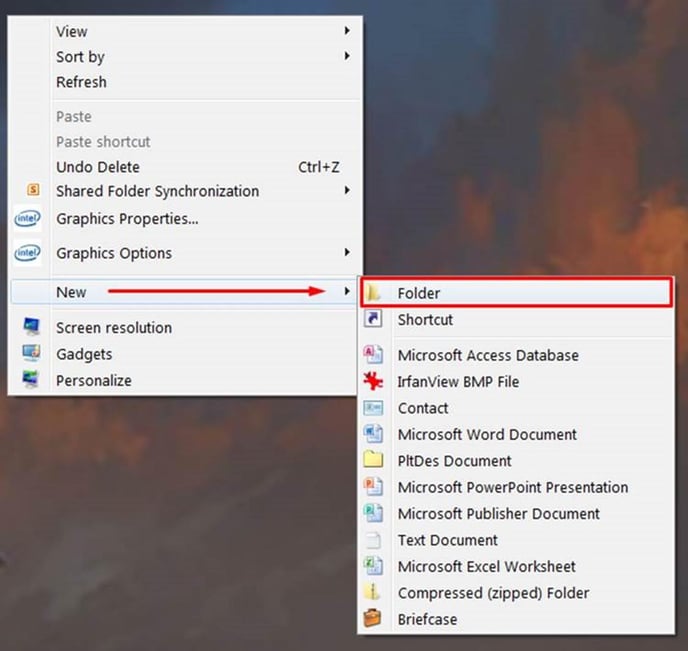
Give the folder a relevant name e.g. Scan.
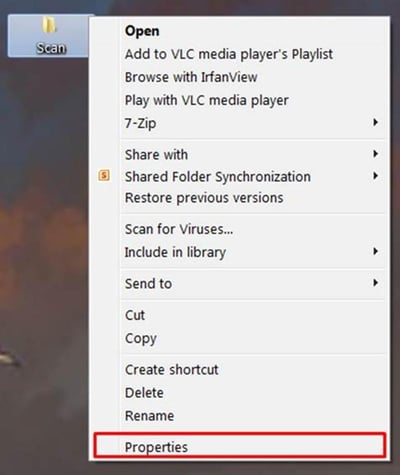
Now right click on the folder and click on Properties.
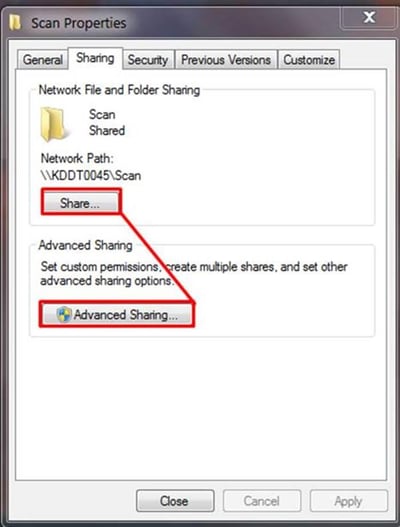
Select Sharing then click on Advanced Sharing.
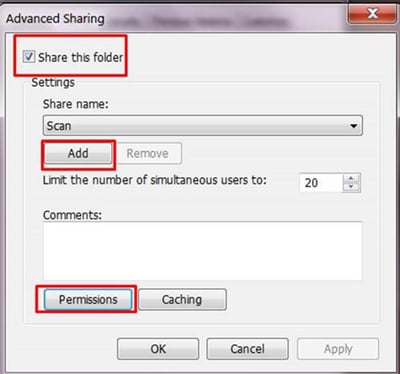
Enable Share this folder, then click on Permissions to ensure the device can locate the folder.
Select Everyone, confirm that Full Control is ticked and click Apply.
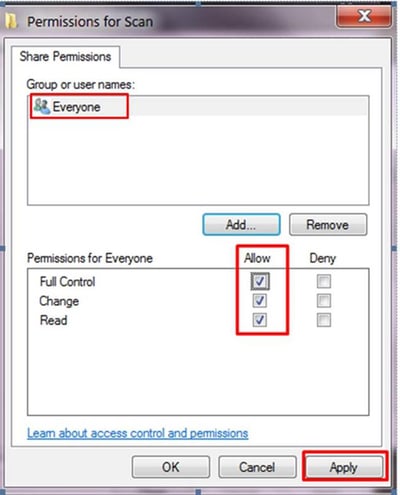
Click OK to exit.
Enabling scanning to a folder
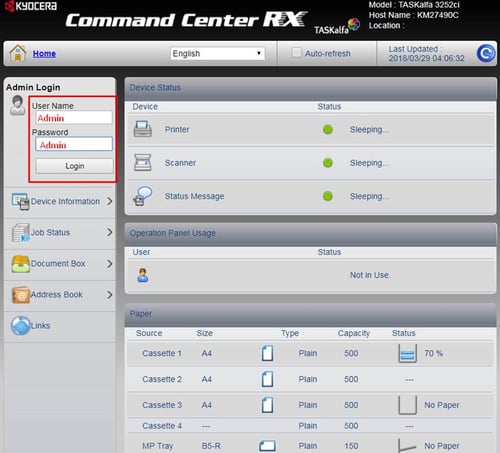
Now it’s time to enable the scan to folder function on your printer. To do this, open Internet Browser (Google Chrome in this example) and type in your printer’s IP Address that you identified earlier into your address bar to access the Command Center.
Login with the default Admin account:
Username: Admin
Password: Admin
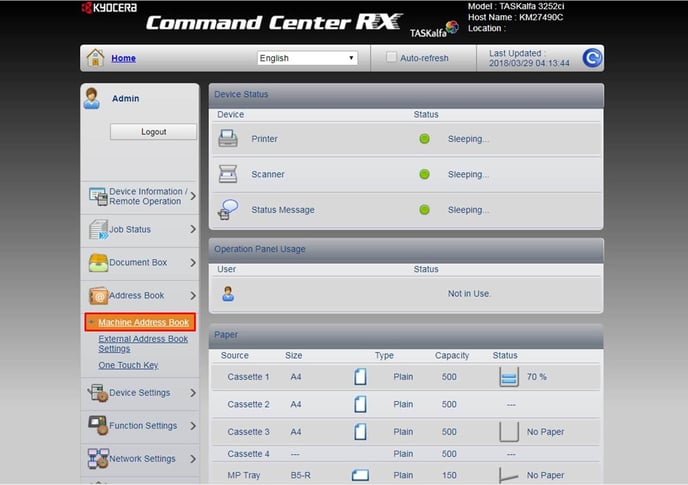
Select Address Book > Machine Address Book
Click on Add.
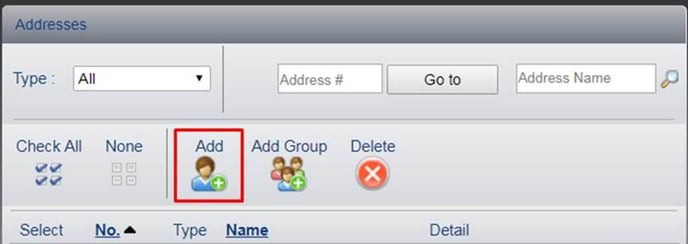
Name the contact (e.g. Scans) then proceed to enter the required information such as the host name or IP Address of the PC, along with your Windows login account information.
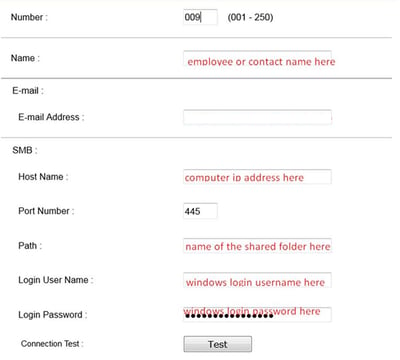
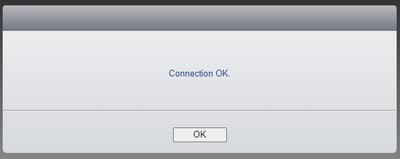
Perform a connection test and confirm the information entered is correct.
Click Submit to save this entry.

Further assistance
If you require further assistance, please feel free to contact us directly via:
- Chat: the chat in the bottom right corner of our website. ↘️
- Phone: to speak to a member of the Kyocera support team, call our helpline on:
- Australia: 135 962 and choose option 3
- New Zealand: 0800 459 623
Phone Support hours are Monday to Friday 9am to 5pm local time across Australia and New Zealand (excl public holidays).
Chat Support hours are 9am to 5pm AEST/AEDT.